Mommy & Me
It wasn't until I was about halfway through this project that I decided to use the precious kitty face cut outs from Retro Cafe Art. My original plan was to make a tea cup fairy. I had the face image already picked out, I had wings already cut and mounted,but somehow, my muse had other plans. While creating the little metal tart tin,I came across the rub on words "Mommy & Me" and just like that,my direction changed,my heart felt happy and the kitty faces became a perfect match.

First I assembled and glued the deep shadowbox and put it aside to dry.

Then I added paper to the Tea Cup fairy and then embellished it with crochet trim.
I knew that I wanted a gap in between the cup base and the top part of the cup so I glued on a spacer as well as on the face part.

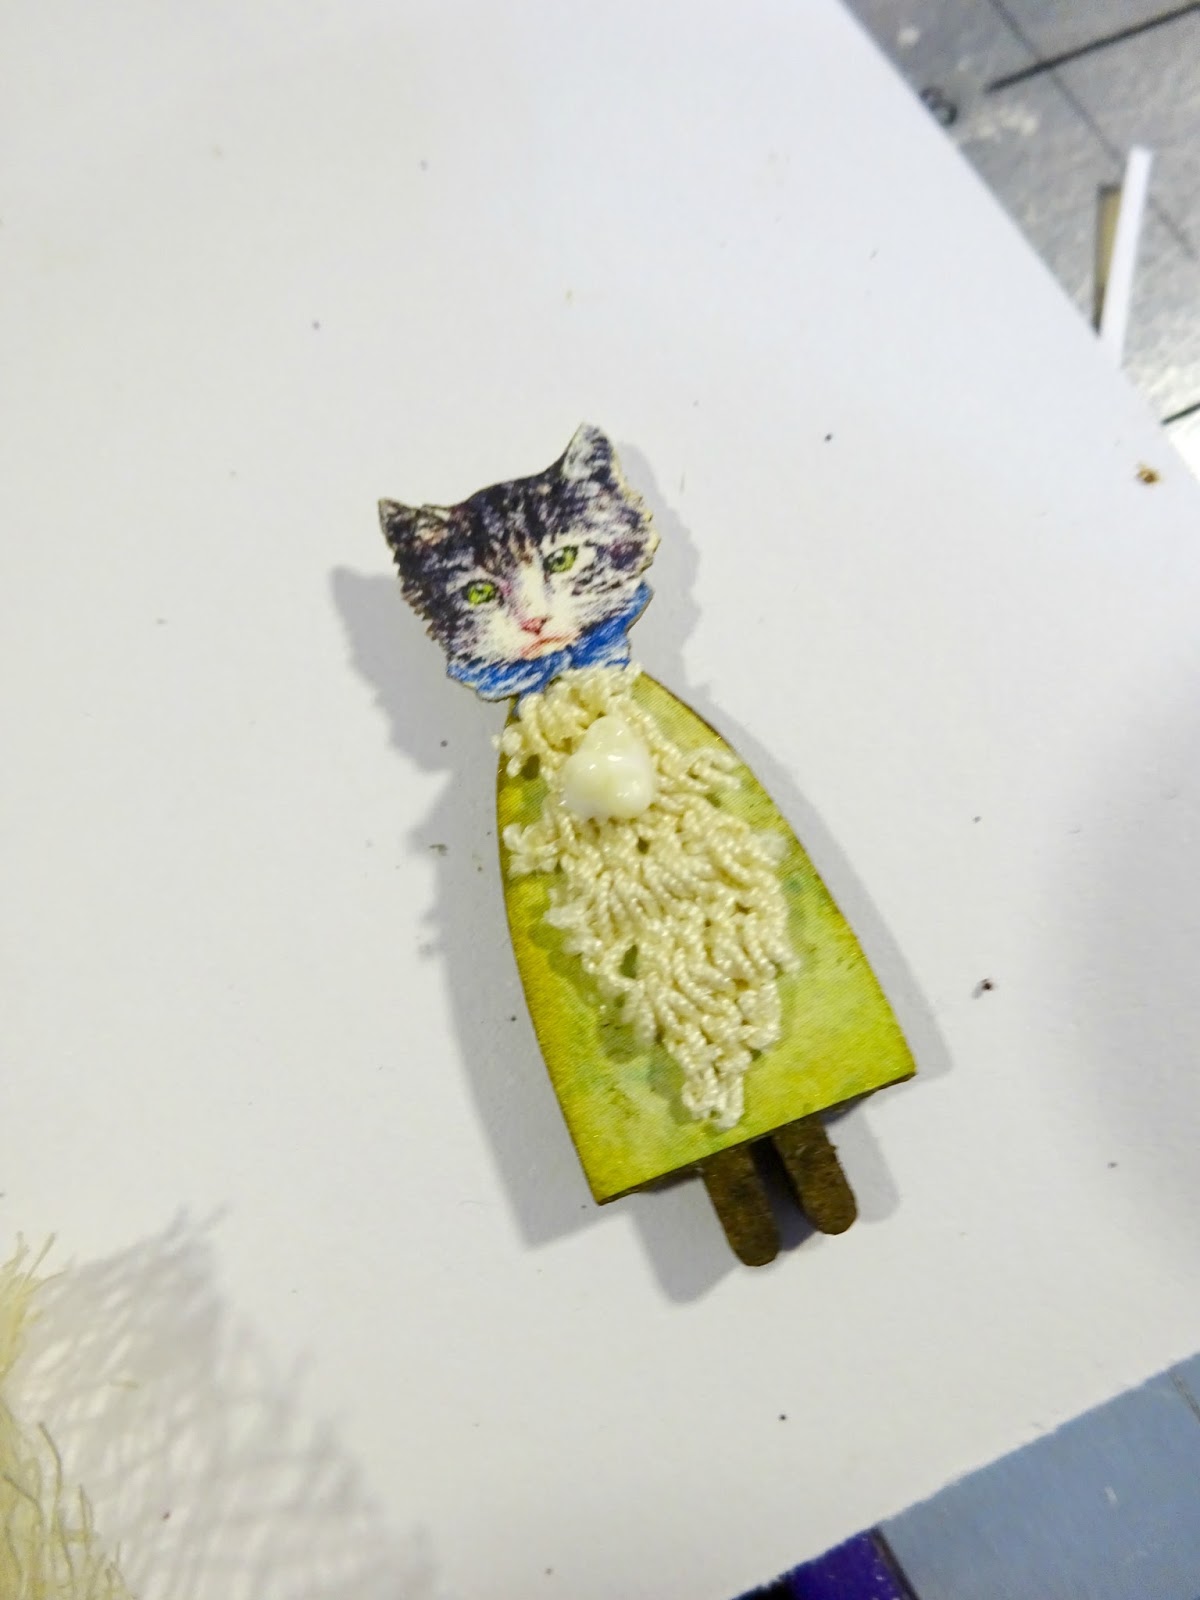
I embellished "Momma" Kitty face cut out with a a mock barrette.

and when the box was dry I added paper to the outside and inside of the box. I also flipped over some silver Dresden and glued it on the edges...

and splattered some paint on to the box to coordinate with the ribbon I had selected for the inside of the box.

I next stitched on a piece of muslin onto a scrap piece of a Crochet doily and glued it on to the inside of the shadowbox.

I created a rusty bell garland using some 22 blackened steel wire...and then drilled 2 holes in the box and fed the garland and knotted the ends to keep it in place.

and created a itty bitty kitty cat "me" using a tiny fairy
I also created a small embellishment using this tiny metal tart tin,some crochet trim,mica pieces,a wood button and rub ons.

I then finished the outside of the box with mini scalloped black dresden on the trim of the box and I created a decorative element for the top of the box using IOD molds and Amazing Casting Resin.
I first add metallic powder to the mold.

I then poured two equal parts of Amazing casting resin into small measuring cups. Next, I added some drops of black dye to part A of the resin and mixed it thoroughly. Then I combined the two equal parts,mixed them together and then poured them into the mold and let them cure for about 10 minutes.

When cured,I pulled them out and finished the piece I chose with Metallic Lustre and glued it into place.

Lastly, I glued everything else to the inside of the box.


And in the end,this precious tea cup Momma Cat and her itty bitty kitty,hold a special place in my heart.
I hope you enjoyed the tutorial.

Items used in this tutorial:
"Long ago God drew a circle in the sand exactly around the spot where you are standing right now. You were never not coming here. This was never not going to happen.” — Elizabeth Gilbert
Here's to making every minute count,


Comments
XO
Kim
Wondering, will the mold you sue for the resin cornice piece, stand up to the heat of molten solder? All their molds are so pretty and I'm thinking the smaller ones would make gorgeous solder charms! Also, what is the gold powder you used? Wondering if it's a mica powder.
Thanks again . . .
So so precious. Love it.xoxoxo